The Tape Method
What is the Tape Method?
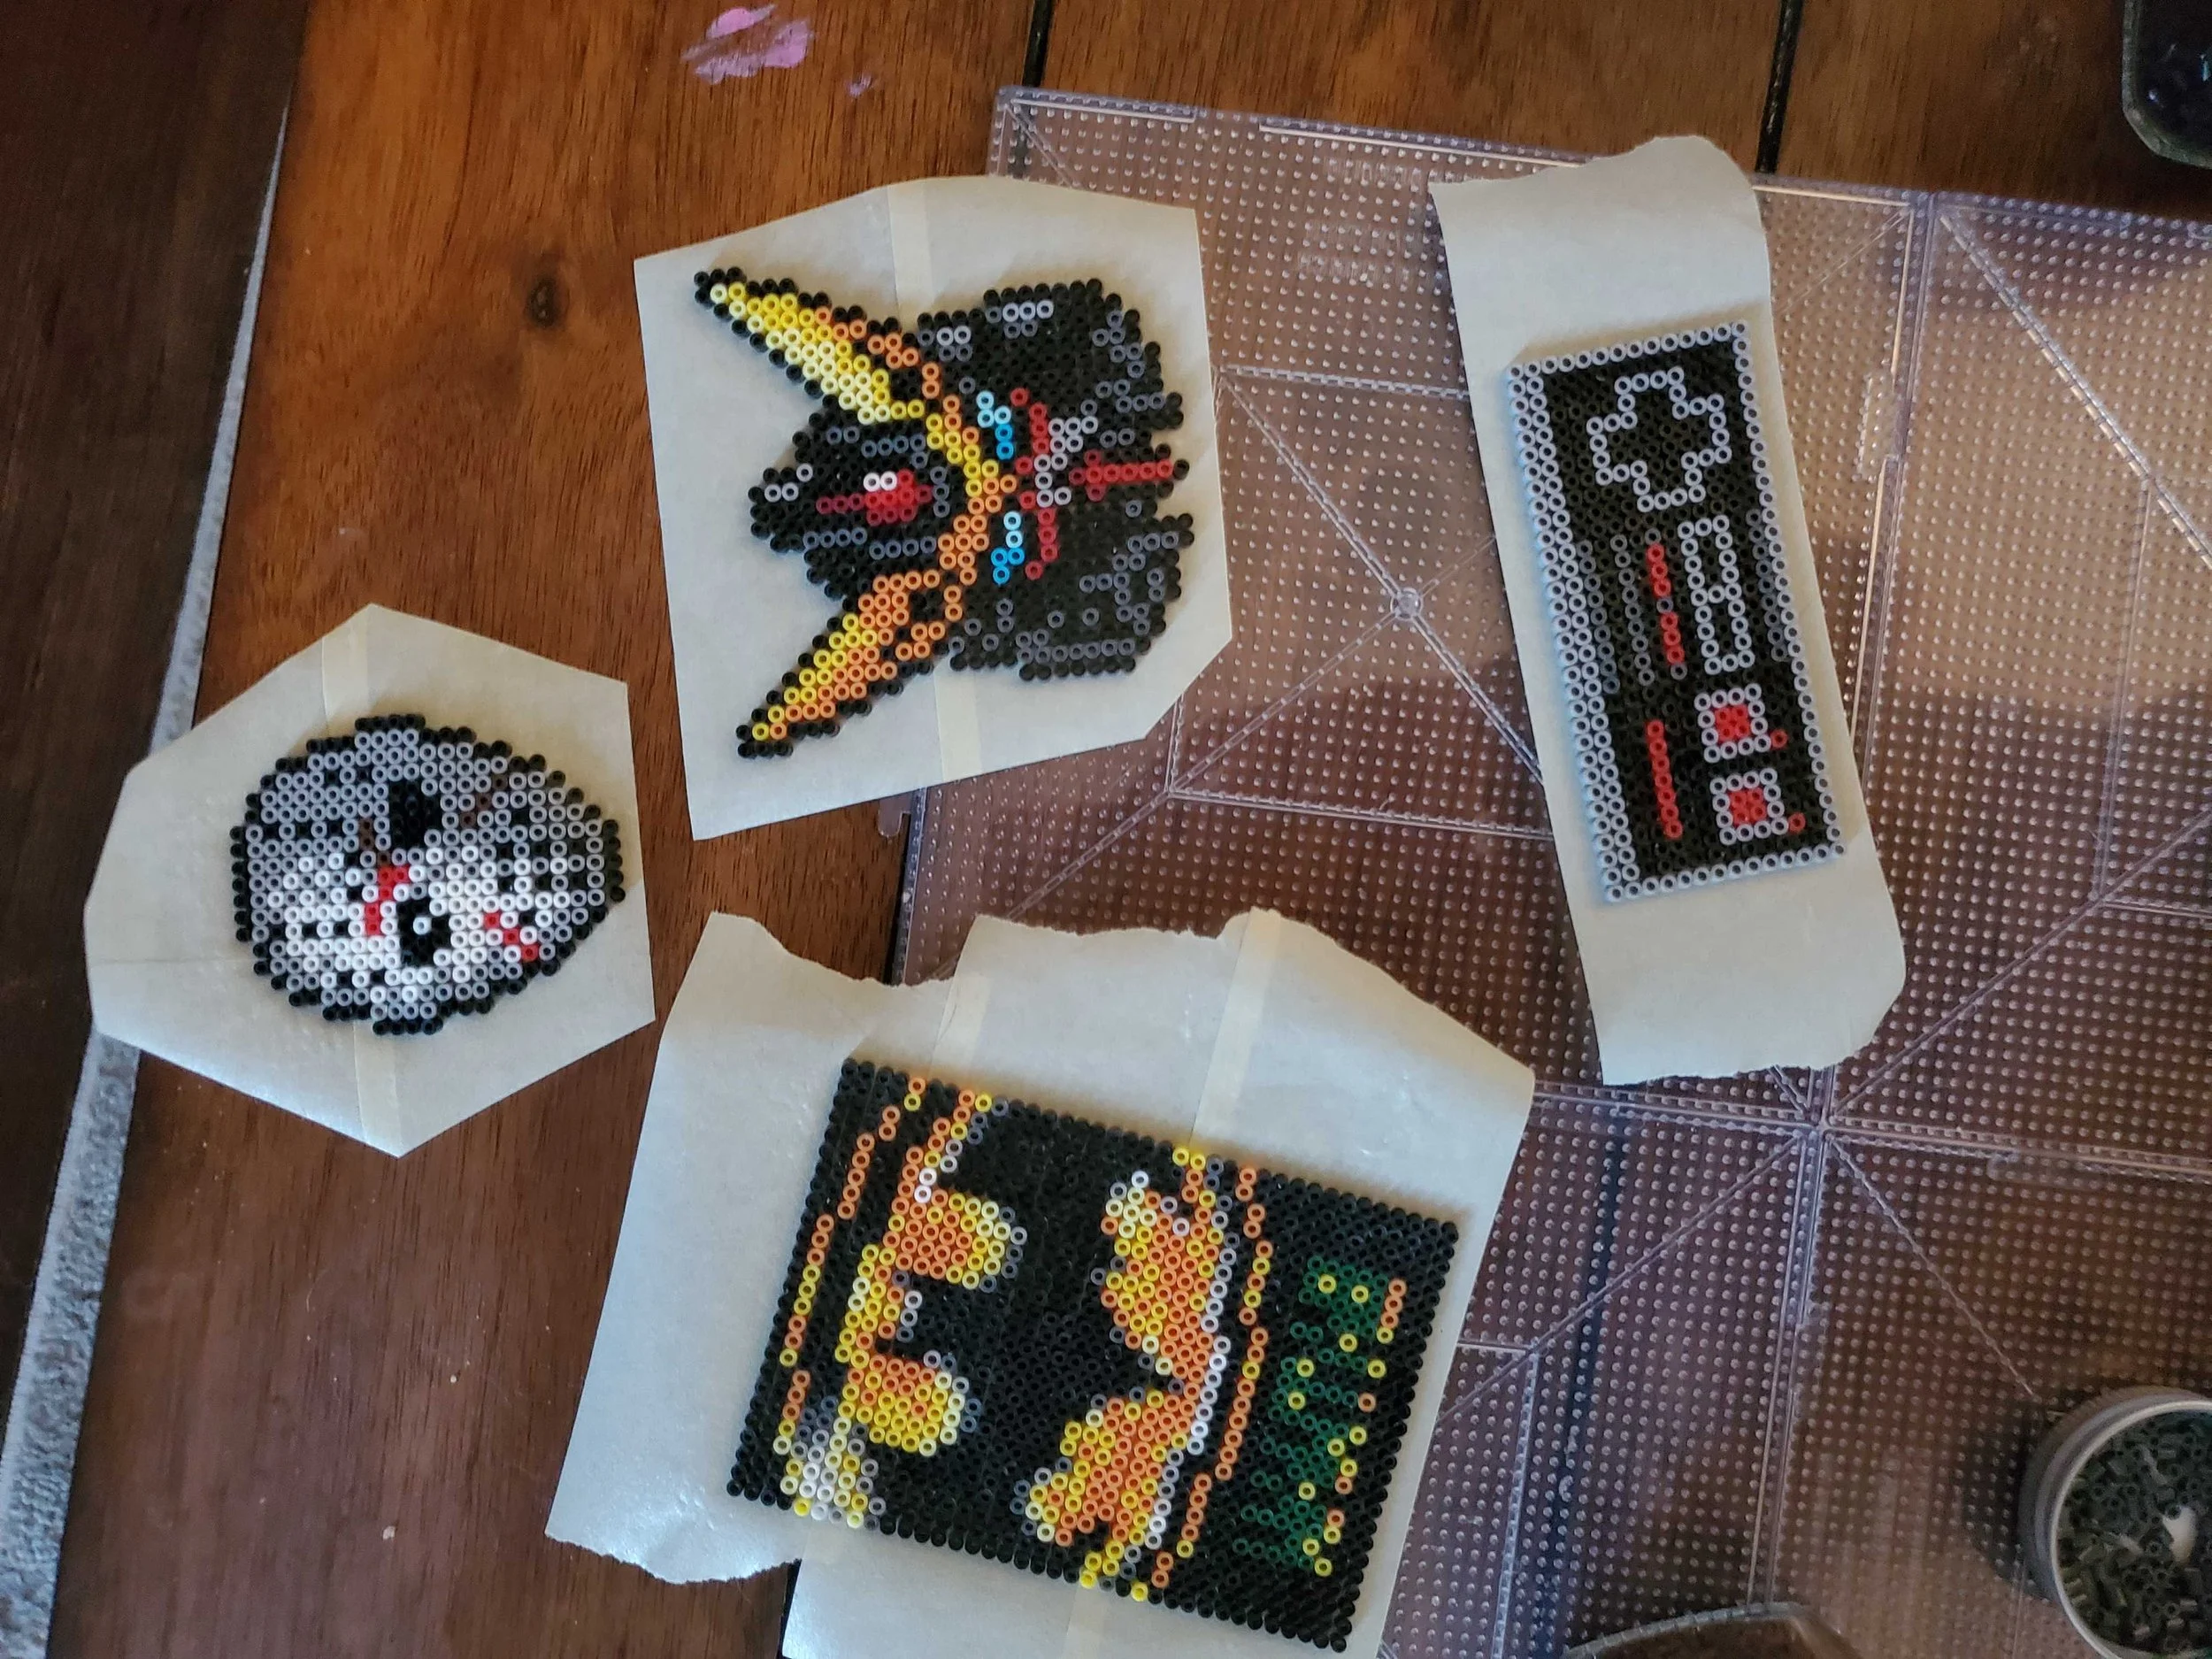
The tape method is a technique used to to remove a project from its pegboard before ironing it. The main reason we use the tape method is to prevent the plastic pegboard from warping under the heat of the iron. Warped boards are very hard to get flat again and may not be worth the effort over buying new ones.
The tape method is even more highly recommended for mini bead users because the beads located on the edges are prone to falling off their pegs when ironing. It’s also easier to over-melt mini beads and accidentally directly touch the iron to the pegs, melting the board and harming the iron.
Is the Tape Method necessary?
No. It’s perfectly fine to fuse your project right on your pegboard. Advocates of the tape method can come off as pushy but many people have never had an issue with boards warping. Though, if you do start experiencing a problem, you might want to give it a try. (Tip: Be sure to keep your iron on low to medium heat.)
Tutorial
-
#1 Get Supplies
2" wide standard masking tape or painters tape. Brand does not matter.
Weights (e.g. heavy books)
Parchment paper
-
#2 Apply the Tape
Apply your tape CAREFULLY over the beads of your design, overlapping strips by about 1/4" until the design is completely covered. This step requires a steady and confident hand. Once the tape is down do not lift up for any reason. (see photo reel below)
-
#3 Secure the Beads
Go back over your design and press the tape well onto the beads to make sure all are adhered securely to the tape. If you are using different brands such as Artkal and Perler together then be aware their beads vary in height so be sure to press the tape onto all of the beads that may be shorter.
-
#4 Lift and Fix
You can now grab your project by the tape and lift it from the pegboard. Once you lift it, don’t attempt to lay back down. There’s no turning back. As you lift the project you may see beads left on the board that did not stick to the tape. Don’t worry about it and keep going - you can go back and place them where they belong.
-
#5 Poke Holes
The tape can trap hot air when melting and cause bead ‘blowouts’. Blowouts are when a hot air has nowhere to escape causing the hole in the center to expand too much. Poke a tiny hole in the center to allow air to escape - do this for every bead. Tip: Use a spare pegboard. Line up the pegs with the the holes of the beads and press the pegboard in for a quick hole punch.
-
#6 Iron and Remove Tape
Place your parchment paper over the non-taped side of your design and iron as normal. Do not iron on the side that is taped. Then place a large book on top of your project for about 5-10 minutes. While your project is somewhat warm, carefully remove the tape and place the large book back on top until completely cool.
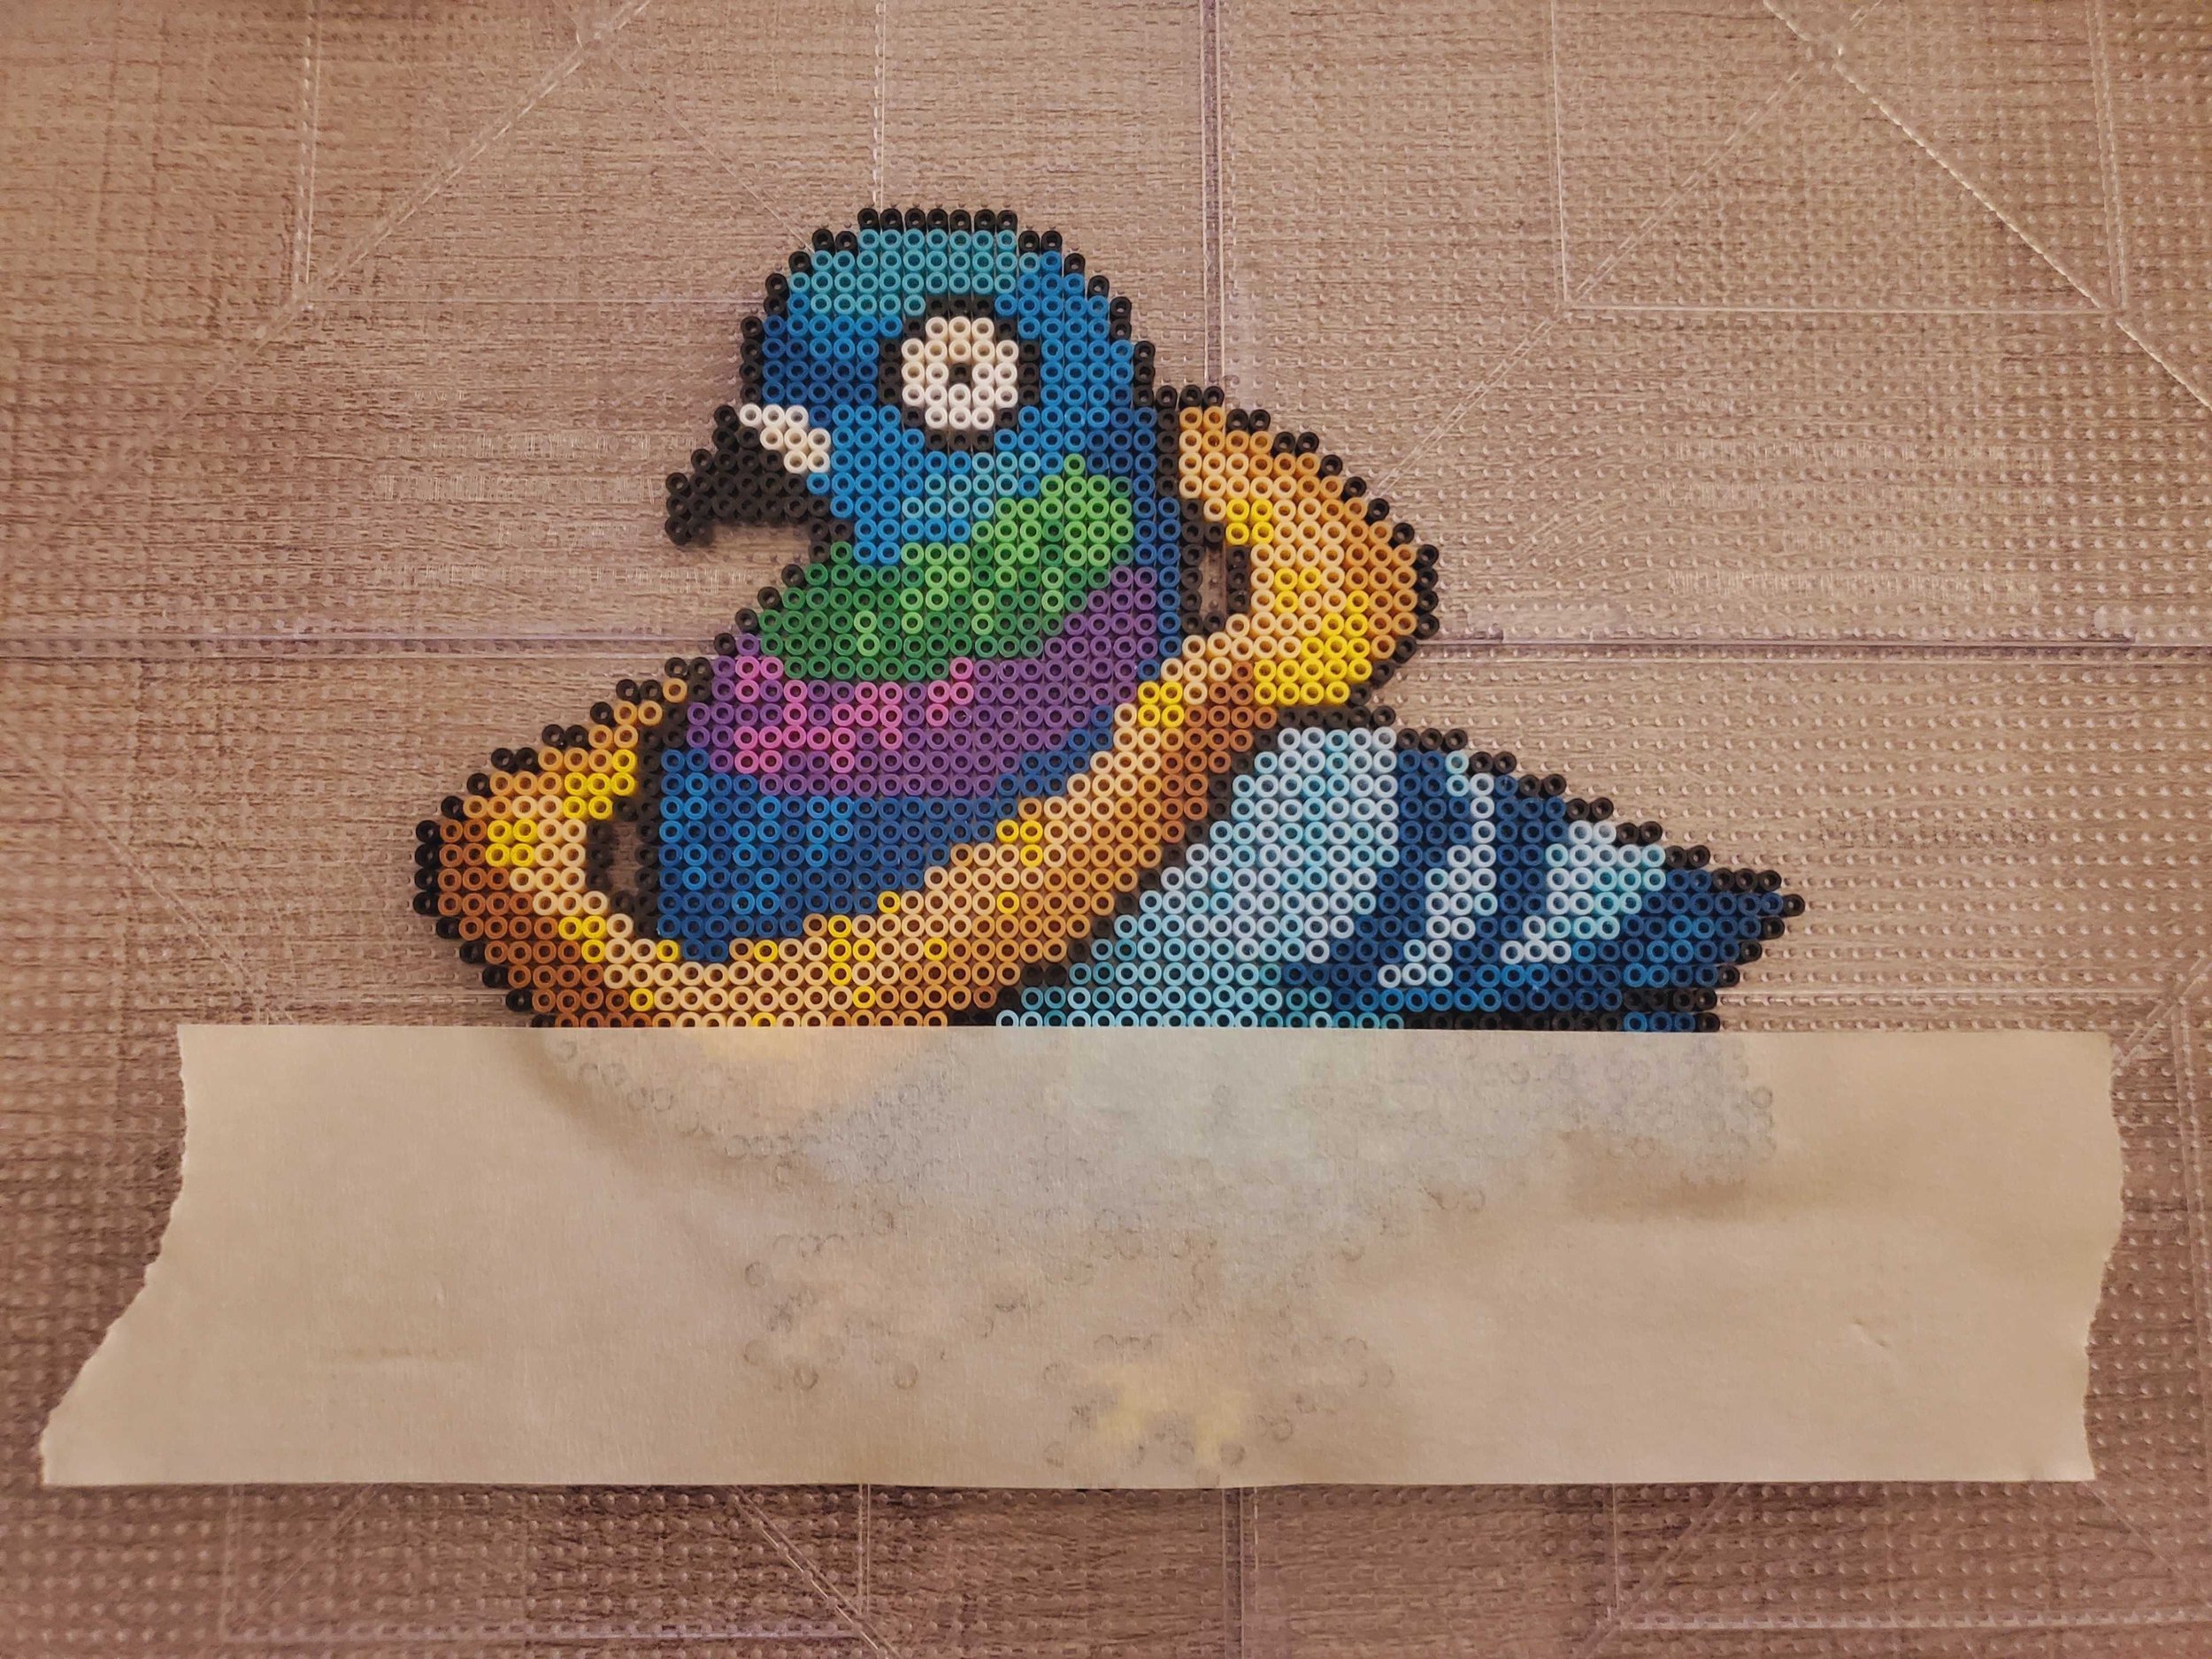


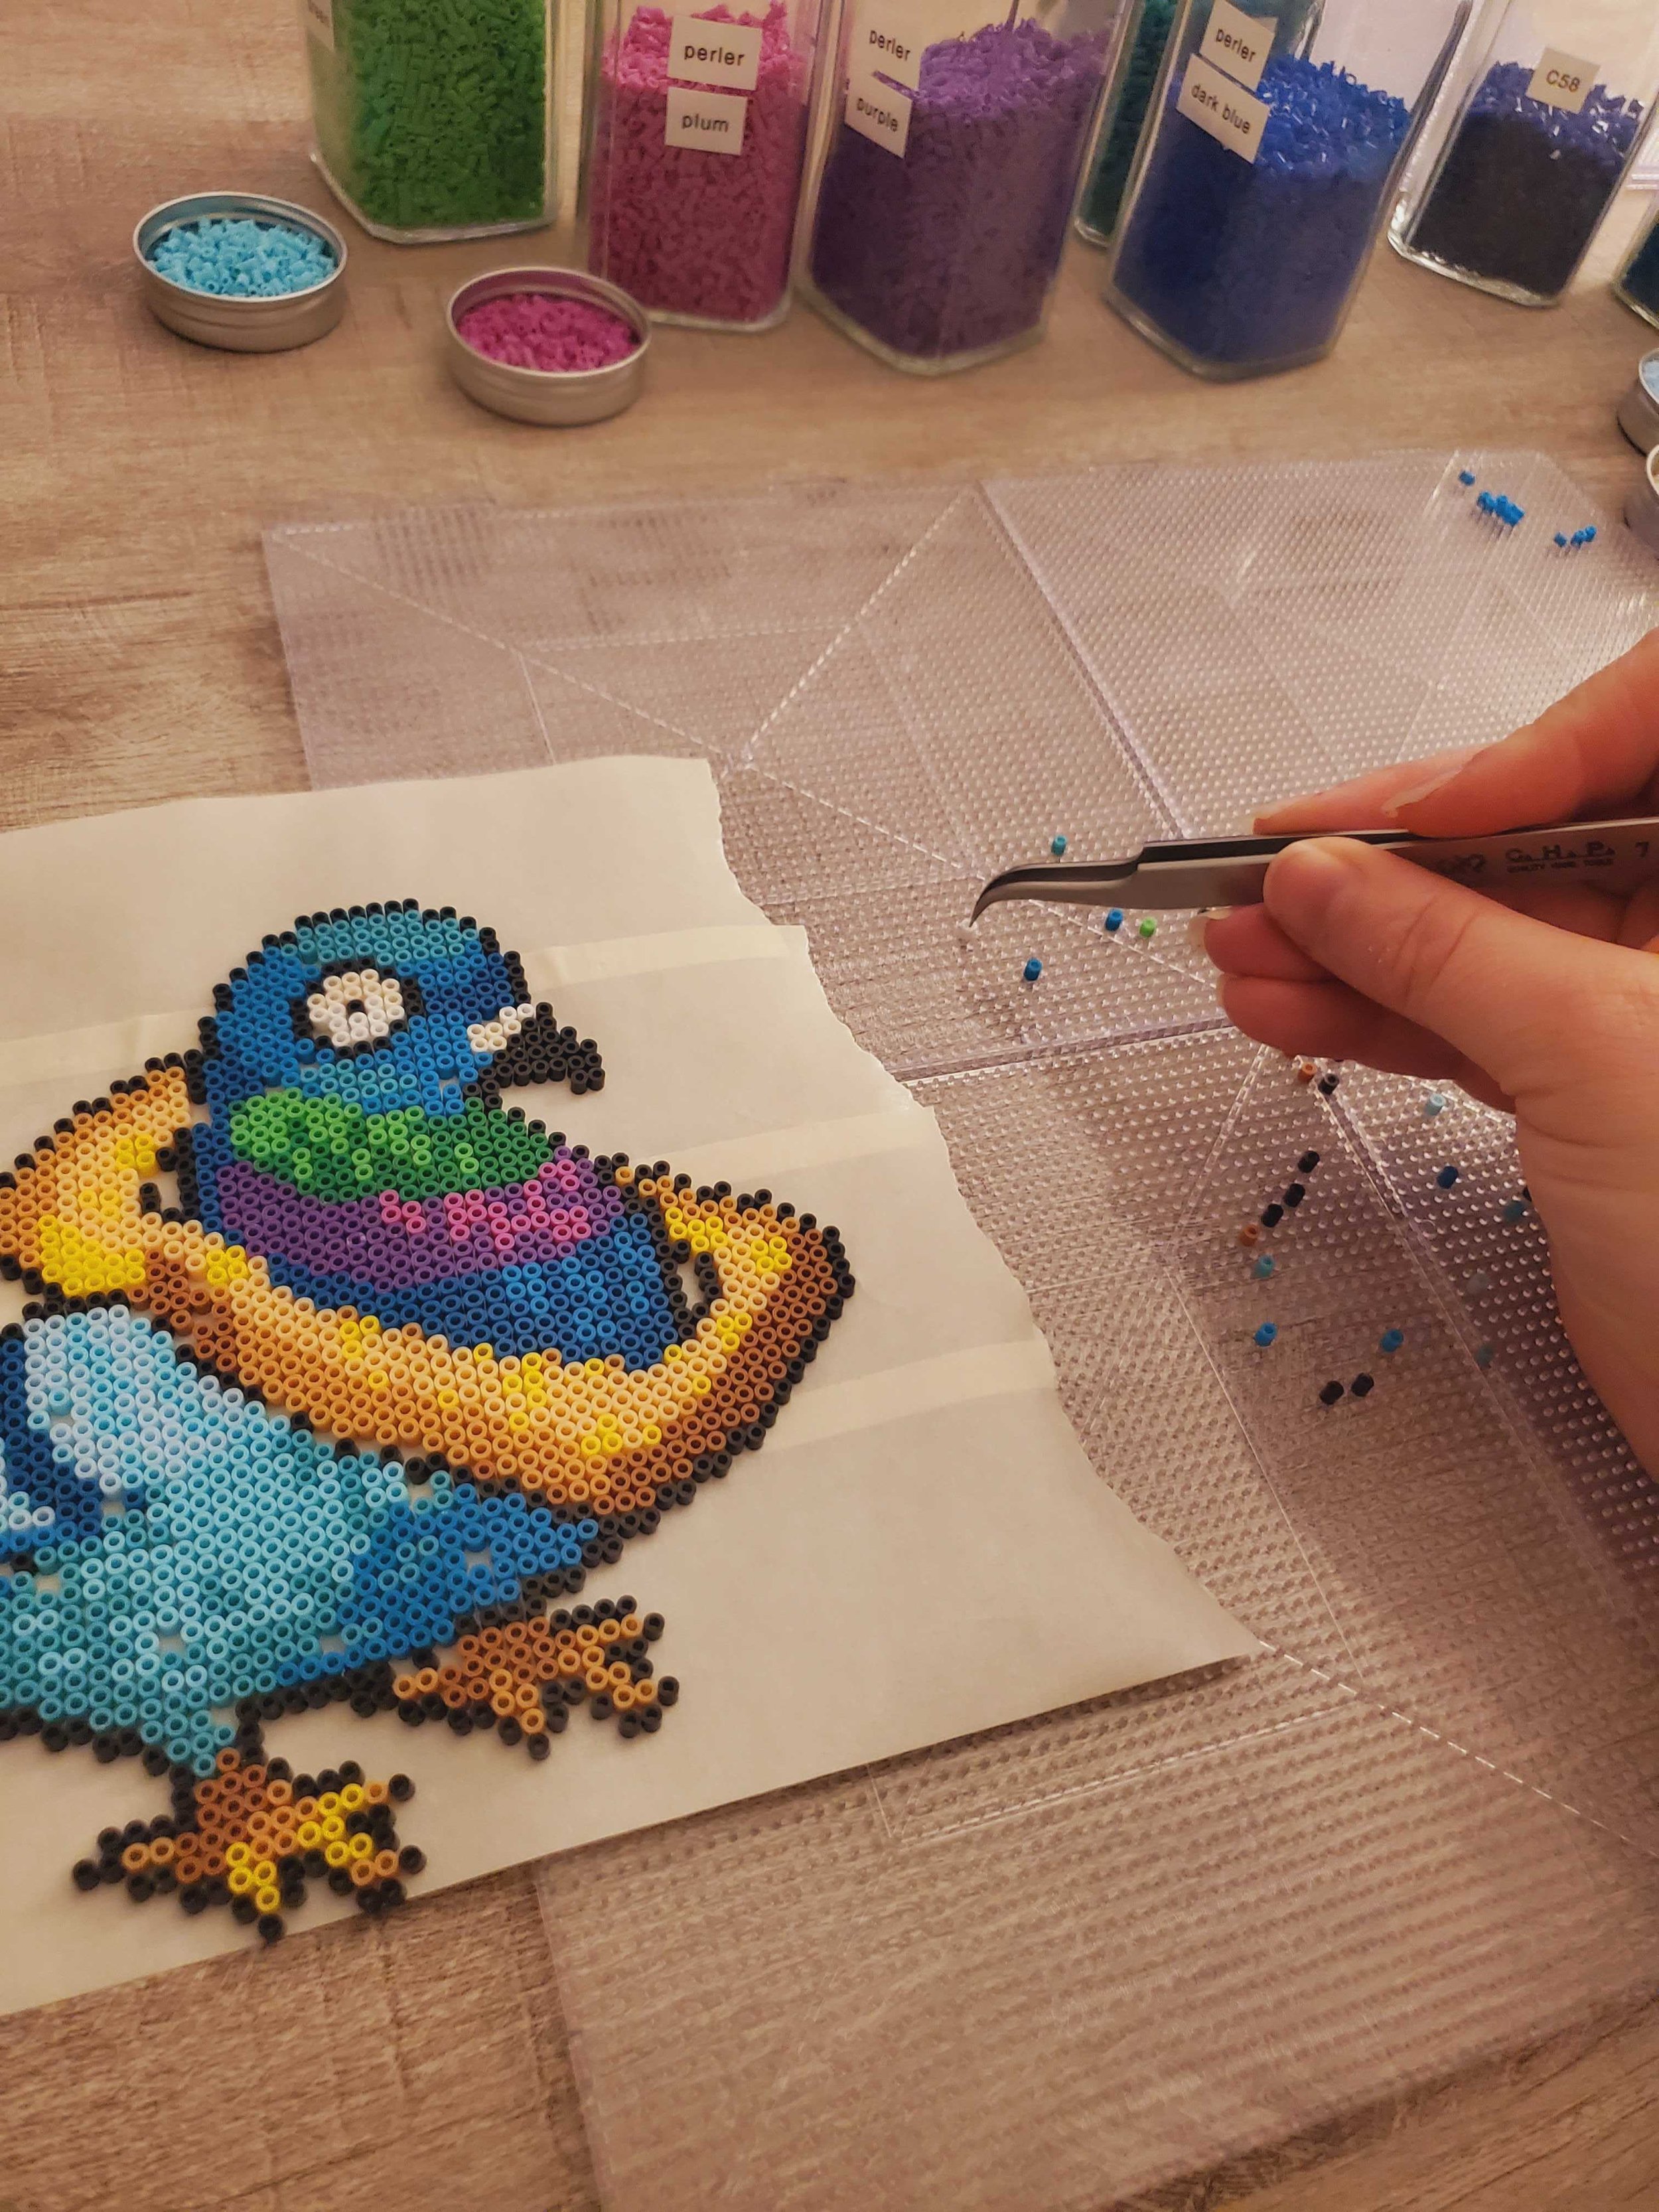
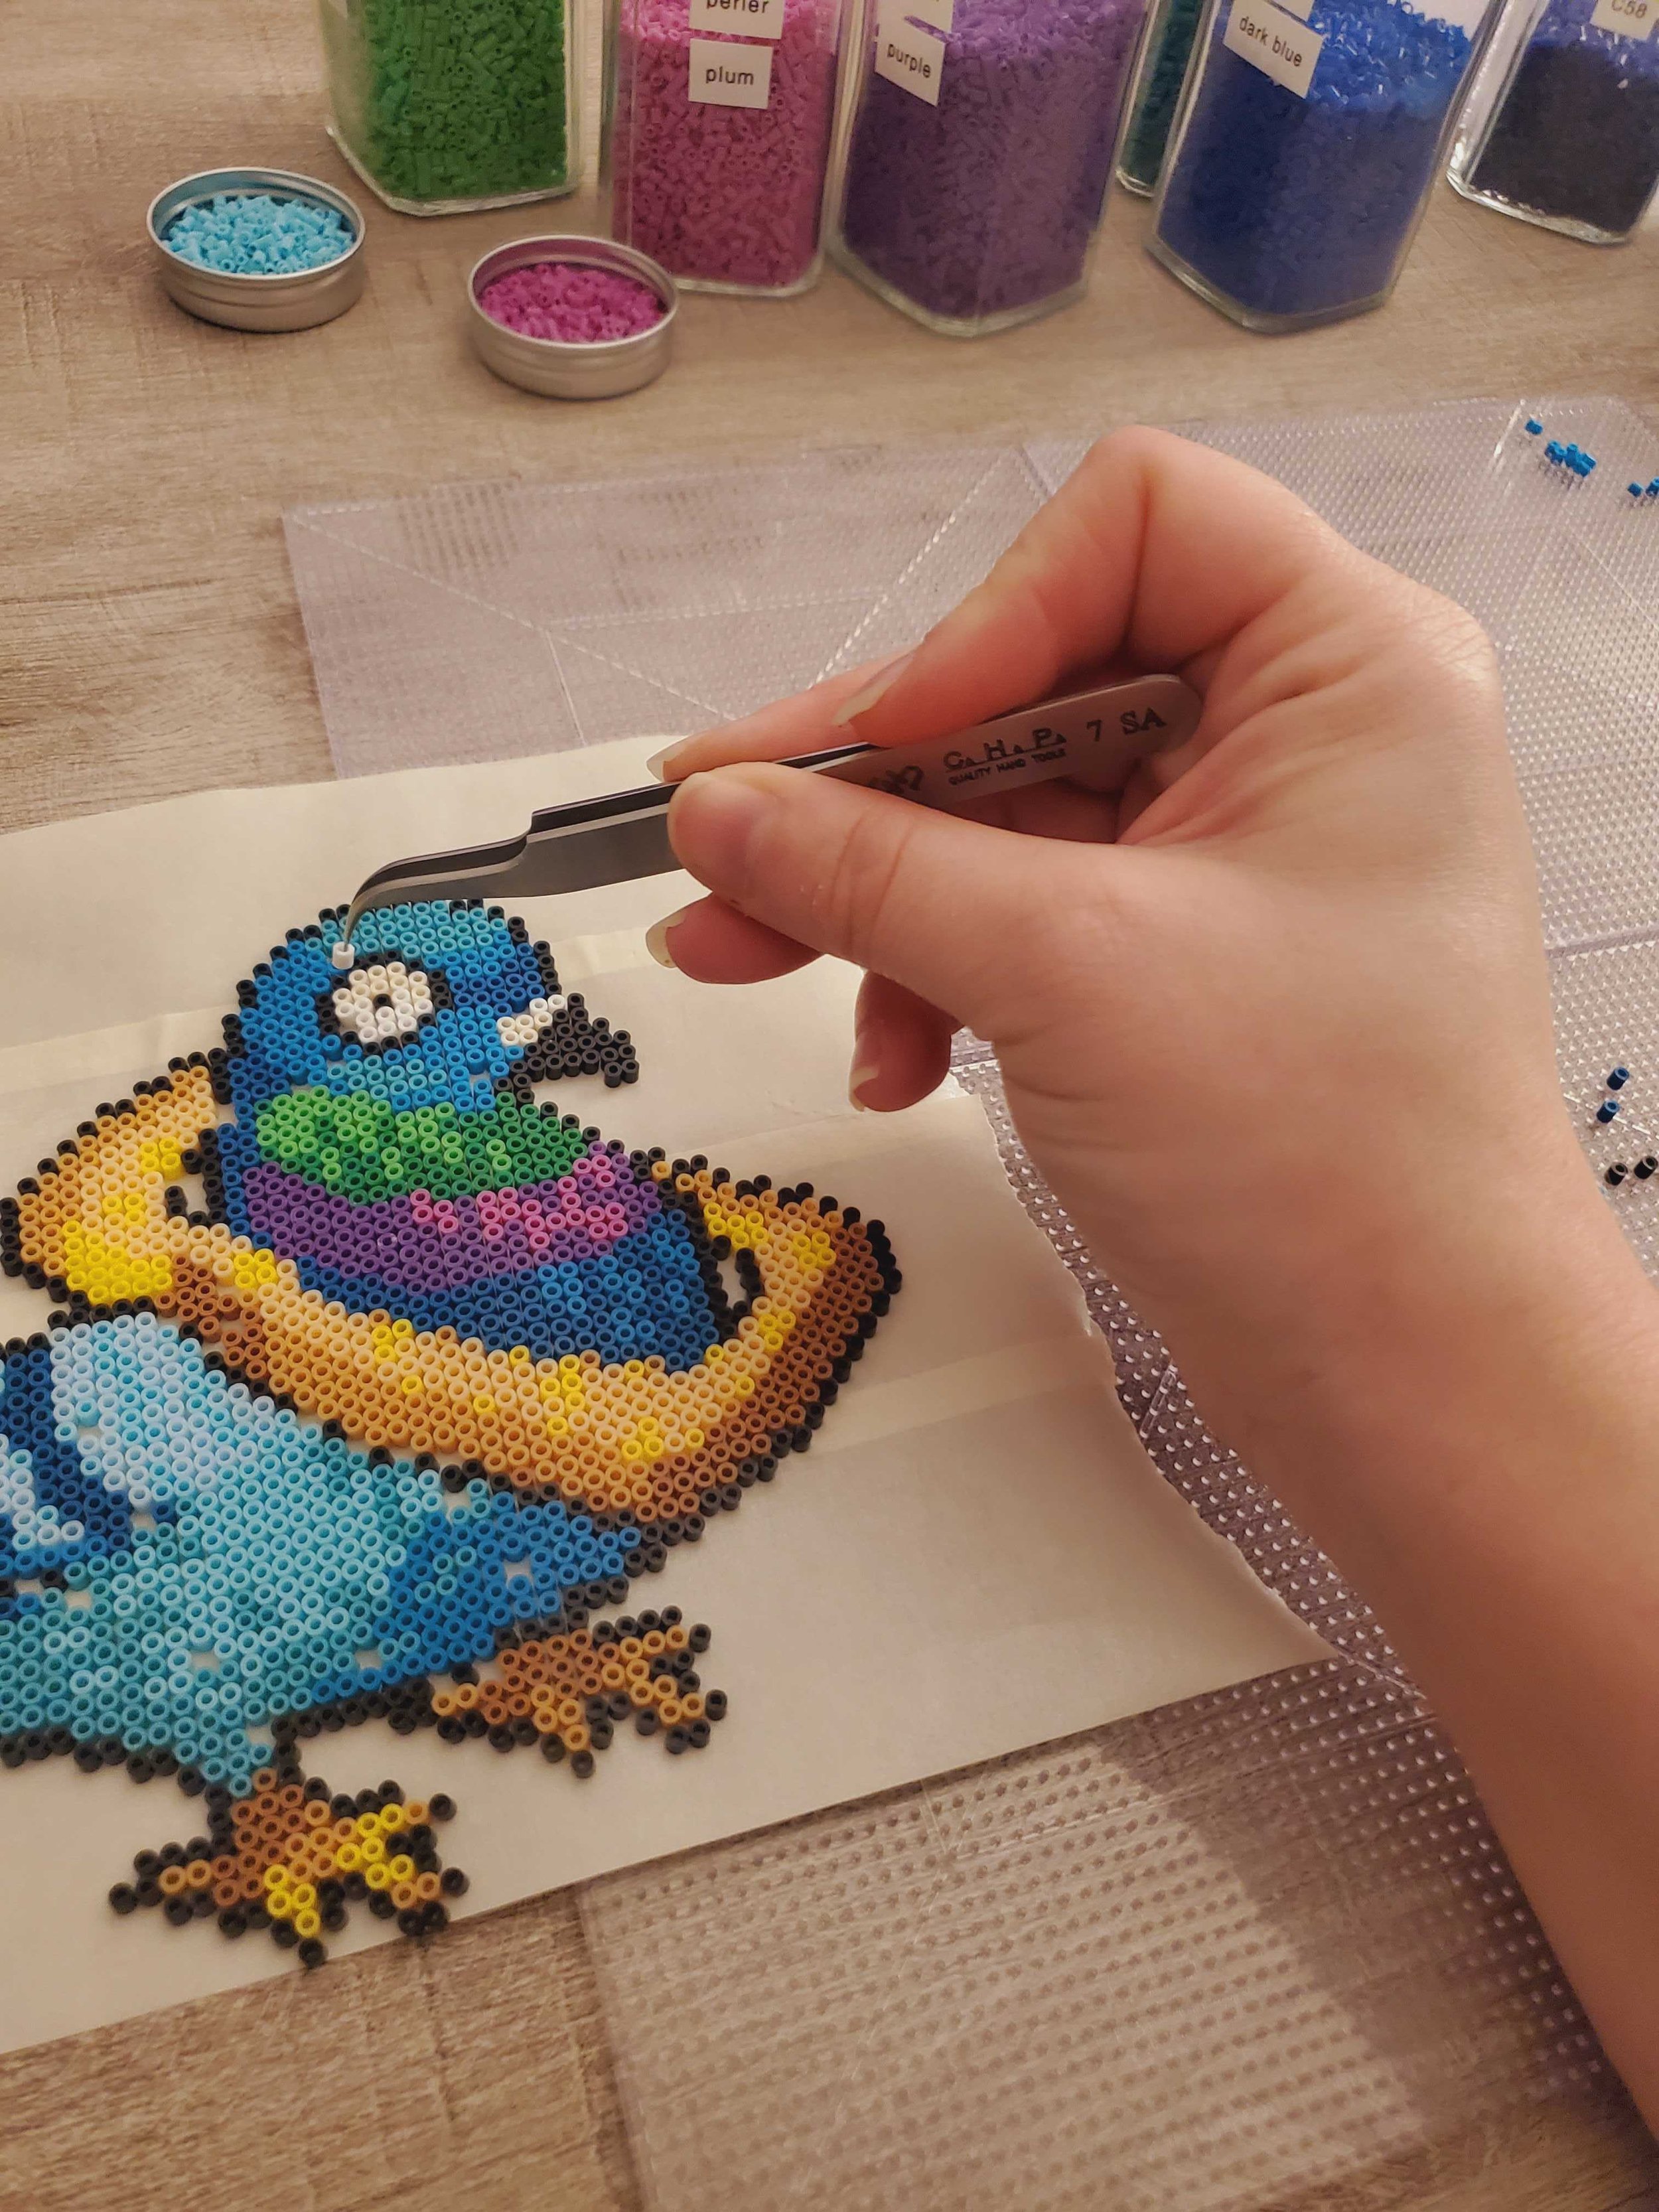


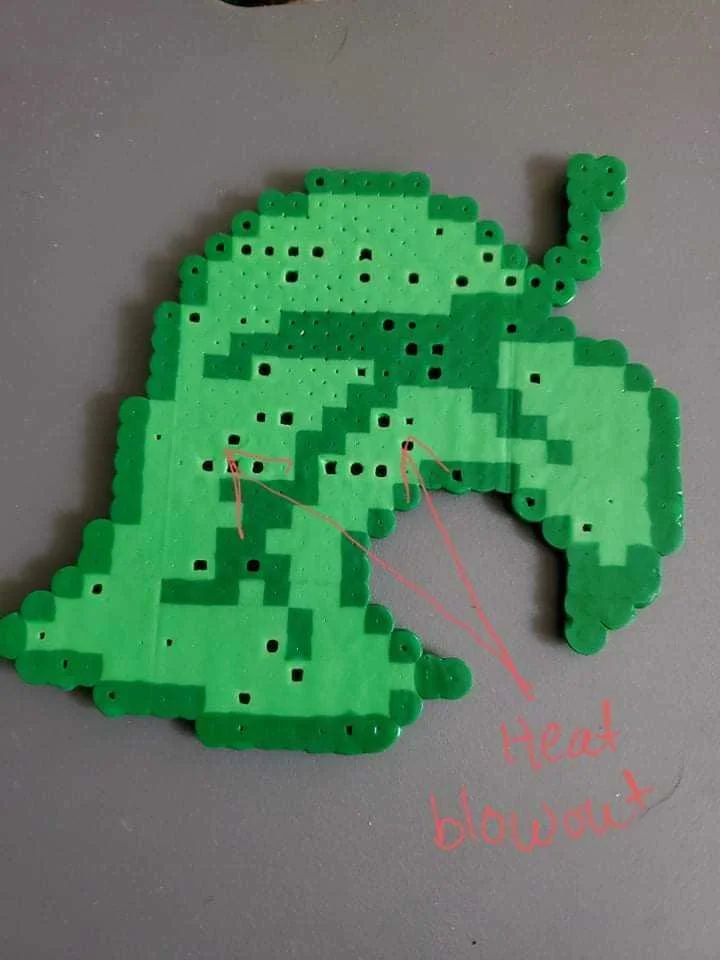
Photo provided by Bri Potter
Bead “Blowouts”:
What are ‘blowouts’?
The tape can trap hot air when melting and cause bead ‘blowouts’. Blowouts are when a hot air has nowhere to escape causing the hole in the center to expand and not fuse closed properly.
How can I prevent blowouts?
Poke tiny holes in the tape through the center of each bead to allow air hot to escape. This is pretty time consuming but worth it for that perfect melt.
Allow the air to escape by lifting the parchment paper periodically while ironing.
Use a lower heat setting.
Is poking holes necessary?
No, but encouraged. You’re much more likely to get blowouts but it’s up to you on what risks you’re willing to take.
Click here for Step #9: Patterns & Converters!
Hello! I pay for this website 100% out of pocket. If you found any of this information helpful please consider donating $1 to my Venmo @okaybie to help support this website.
–Thank you!